
Core Settings That Shape Your Daily Experience
The My Settings page in Microsoft Dynamics 365 Business Central is your personal control center. While administrators configure the system for the organization, the My Settings page allows you to tailor your workspace so it works best for you. The changes you make here affect only your experience not anyone else’s.
We’ll focus on the core settings you’ll use most often: Role, Company, Work Date, Region, Language, and Time Zone.
1. Role – Define Your Workspace
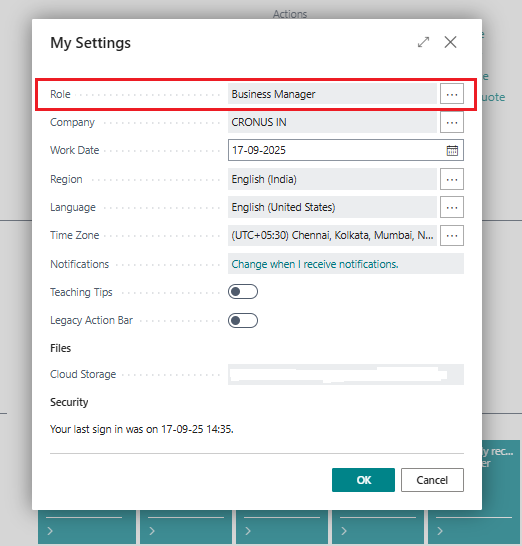
Your Role determines what you see the moment you log into Business Central. Think of it as your personalized homepage, called the Role Center.
- A Business Manager sees a broad overview of the business, covering finance, sales, and purchasing.
- An Accountant gets quick access to journal entries, ledgers, and financial KPIs.
- A Sales Order Processor focuses on orders, customers, and inventory availability.
Choosing the right role ensures your dashboard shows the tools, data, and shortcuts relevant to your job, saving you from endless navigation.
2. Company – Switch Between Business Entities
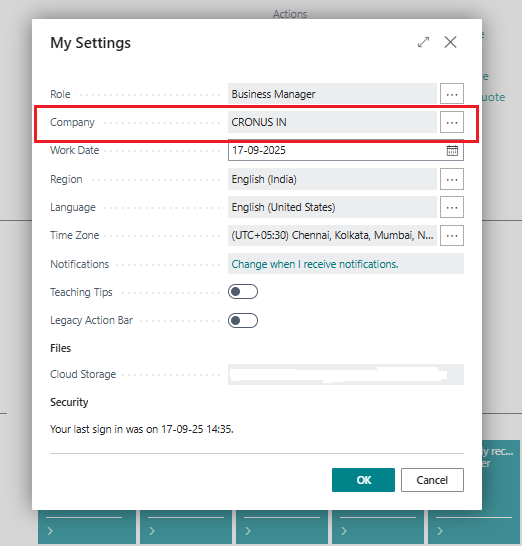
Business Central can host multiple companies within the same database. The Company setting lets you select which company you’re working in.
- The demo environment usually starts with CRONUS, filled with sample data.
- You can switch to another company using the drop-down or the quick shortcut Ctrl + O.
- Each company has its own data, so always check the company name at the top-left corner before making entries.
This is especially handy for consultants, auditors, or businesses managing multiple subsidiaries.
3. Work Date – Control the Transaction Date
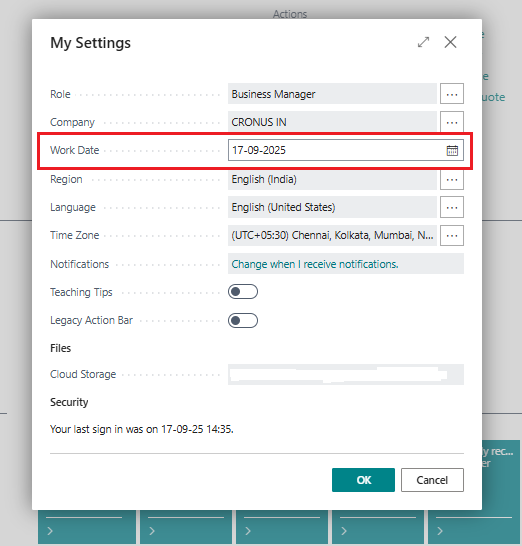
The Work Date field defines the posting date for new transactions. By default, it matches today’s date, but you can adjust it if you’re backdating or entering future transactions.
- Use the date picker or type T for today.
- Typing W inputs the current work date.
- Shortcut entries like 11/17 automatically assume the current year.
Note: The work date resets to default (today) when you sign out or switch companies, so double-check before posting.
4. Region – Localize Your Experience
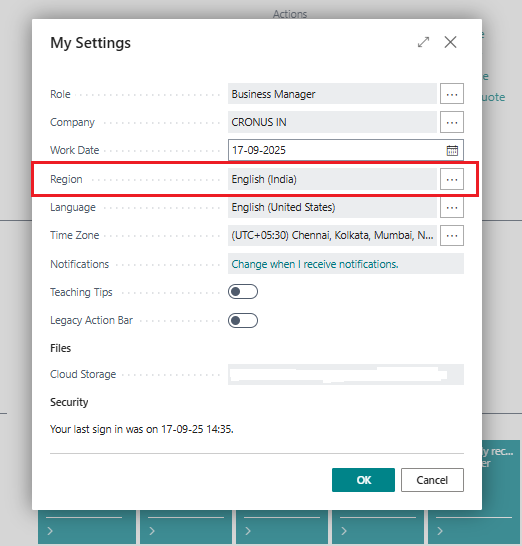
The Region setting controls how dates, times, numbers, and currencies appear. For example:
- MM/DD/YYYY vs. DD/MM/YYYY date formats.
- Comma vs. dot as decimal separators.
This ensures your Business Central feels natural and consistent with your local standards.
5. Language – Work in Your Preferred Language
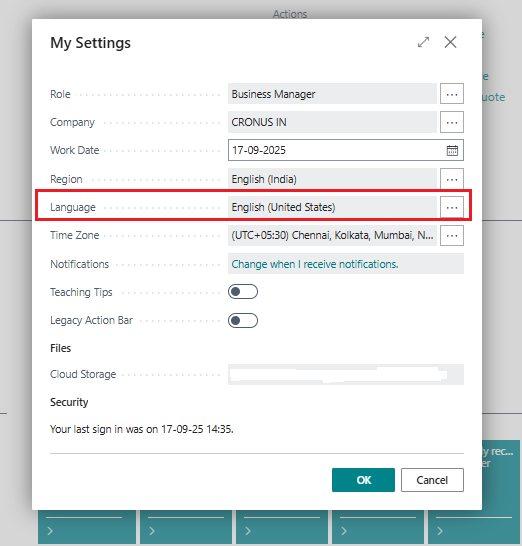
Business Central supports multiple languages. Your administrator installs the available language packs, and you can switch to the one you prefer.
- This setting applies across devices desktop, mobile, or tablet.
- Changing the language affects menus, field names, and system prompts.
A valuable feature for global teams where each member can work in their native language.
6. Time Zone – Align Your Clock with Business
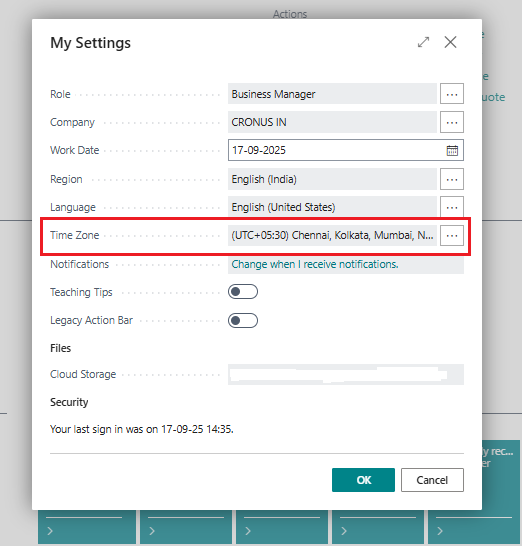
By default, the Time Zone is set to your company’s address, but you can adjust it if you’re in a different location. This ensures that transaction timestamps, scheduling, and reporting stay accurate.
Productivity & Experience Settings
We explored the core settings Role, Company, Work Date, Region, Language, and Time Zone that shape your daily workspace. Now, let’s look at the additional settings that fine-tune your productivity and overall experience in Business Central.
1. Notifications – Stay Alert, Stay in Control
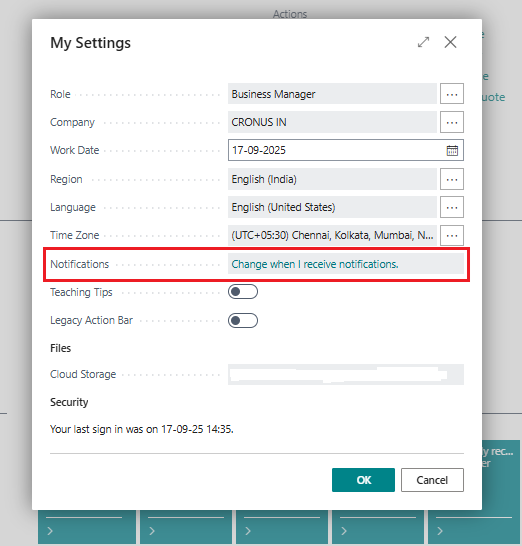
Notifications help you avoid mistakes and keep track of important events. For example:
- Warnings about unposted documents.
- Alerts when a customer has an overdue balance.
- Messages when inventory is lower than the sales quantity.
You can manage which notifications you want to see by selecting Change when I receive notifications. This gives you control to turn off unnecessary alerts and keep only the ones that matter for your role.
Result: Fewer distractions, but smarter safeguards.
2. Work Date Reminders – Reduce Errors in Transactions
If your work date isn’t today’s date, Business Central gives you a reminder at the top of your page.
- The reminder links directly back to My Settings so you can adjust it quickly.
- You can dismiss it for the session if you know you’re intentionally using a different date.
This simple feature helps you avoid posting transactions with the wrong date a common mistake in accounting.
3. Teaching Tips – Learn as You Work
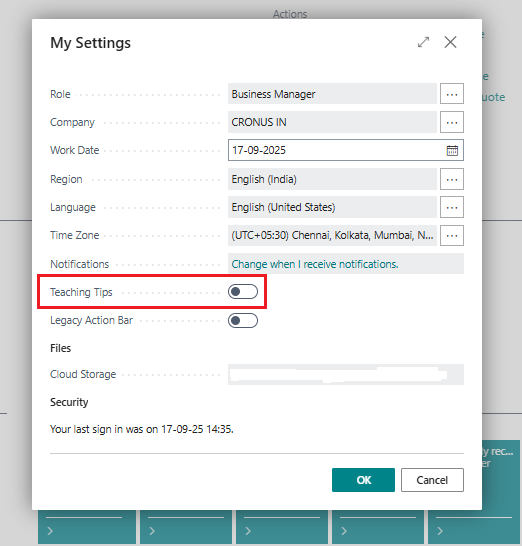
Business Central includes teaching tips that pop up when you first use certain pages or features.
- Great for beginners who want guidance as they explore.
- Once you’re confident, you can switch them off.
- You can always reopen them later if needed.
Think of this as an on-demand tutor built into the system.
4. Legacy Action Bar – Familiar Layout for Long-Time Users
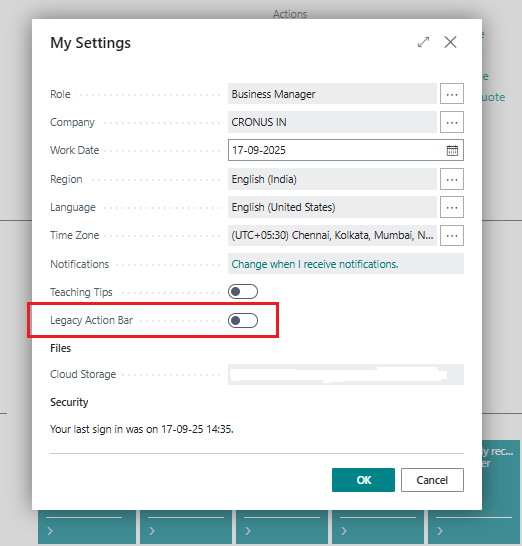
If you’ve been using Business Central (or NAV) for years, the Legacy Action Bar option restores the older layout and terminology.
- Tabs like Process replace the newer pinned Action Bar style.
- Split buttons are separated into multiple actions, which may mean more clicks but can feel familiar.
This feature is especially useful if you’re transitioning from older versions and want a softer learning curve.
5. Cloud Storage – Manage Your Files in OneDrive
Business Central integrates directly with OneDrive for Business. From the Cloud Storage section:
- You can open your Business Central folder directly in OneDrive.
- Store and access reports, exports, and shared files securely.
- Keep an eye on your storage space as your organization grows.
This ensures your data stays accessible, secure, and synced across devices.
Best Practices & Expert Tips
Now that we’ve covered the core settings and the productivity-focused settings, let’s finish with some practical tips and best practices to help you get the most out of the My Settings page in Business Central.
1. Always Double-Check Your Work Date
Many posting errors happen because the work date wasn’t reset.
- Habit: Confirm the work date before posting invoices or journals.
- Shortcut: Use T for today and W for the current work date.
2. Choose the Right Role for Your Job
Don’t just stick with the default “Business Manager” role.
- Accountants, Sales Processors, and Warehouse Managers all have tailored Role Centers.
- The right role reduces clutter and puts your essential tasks front and center.
3. Keep Notifications Relevant
Turn off alerts that add noise, but keep the ones that safeguard compliance and accuracy.
- Example: Keep credit limit or overdue balance warnings on if you handle receivables.
- Example: Turn off demo-related alerts if working in a training company.
4. Use Teaching Tips for Onboarding
If you’re new to Business Central or training a colleague keep Teaching Tips turned on. They act as built-in guides and reduce the learning curve.
5. Embrace Cloud Storage Early
With Business Central’s OneDrive integration, saving and accessing files becomes seamless.
- Use it for financial reports, reconciliations, and shared documents.
- Avoid relying on local file storage, which can cause versioning or access issues.
Conclusion: Why My Settings Matter
The My Settings page is much more than a simple preferences screen it’s your gateway to a tailored Business Central experience. From choosing the right role and company to fine-tuning notifications and reminders, these settings put you in control of how you work every day.
- We explored the core settings that define your workspace.
- We covered productivity and usability options that make your workflow smoother.
- We shared best practices to avoid mistakes and maximize efficiency.
By investing just a few minutes in configuring My Settings, you’ll reduce errors, speed up tasks, and feel more confident using Business Central whether you’re a new user or a seasoned professional.